A car-wash booking app
In this tutorial we build the back-end for a car-wash booking application, one service at a time, covering the fundamentals of the @imqueue framework along the way.
Here is what the finished application looks like to its users:
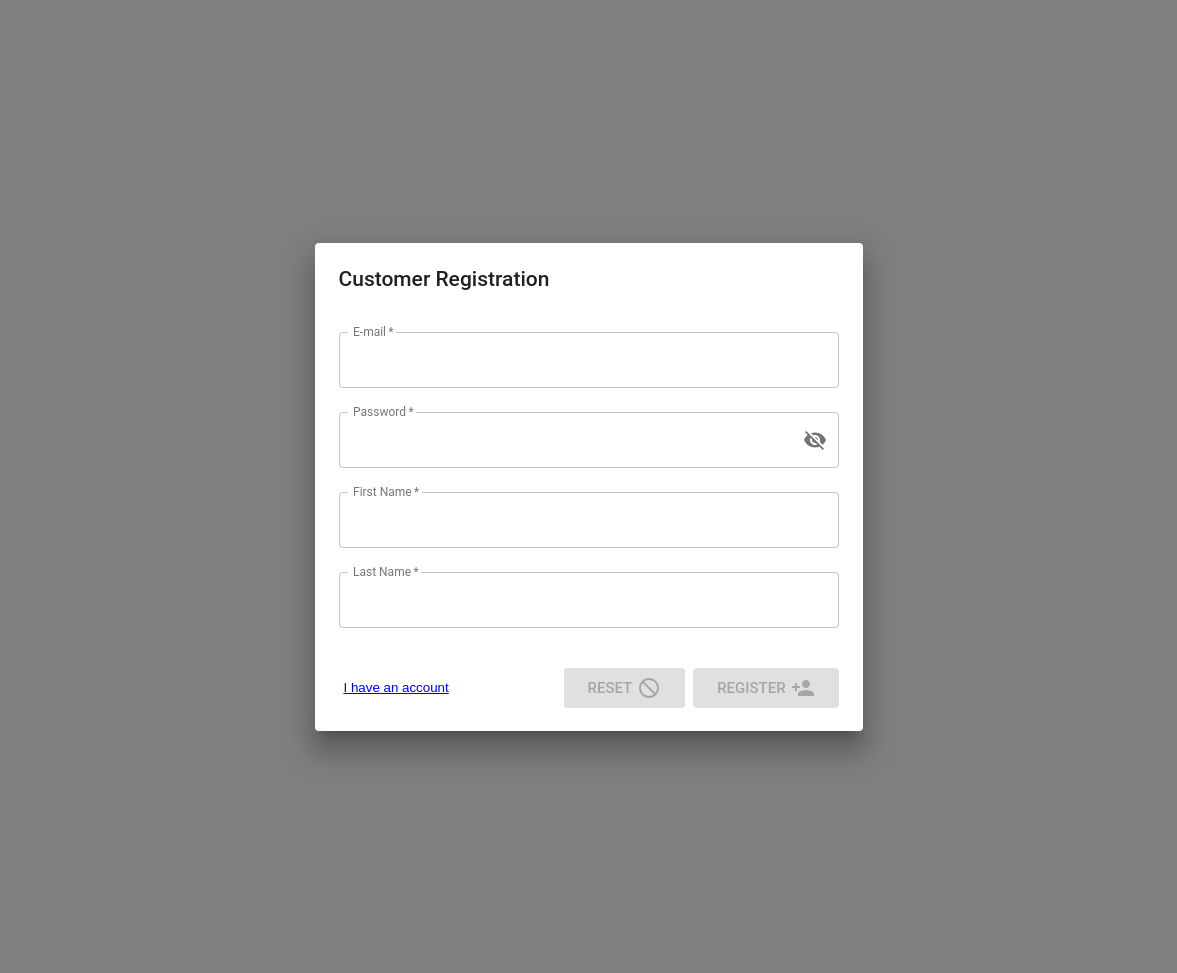
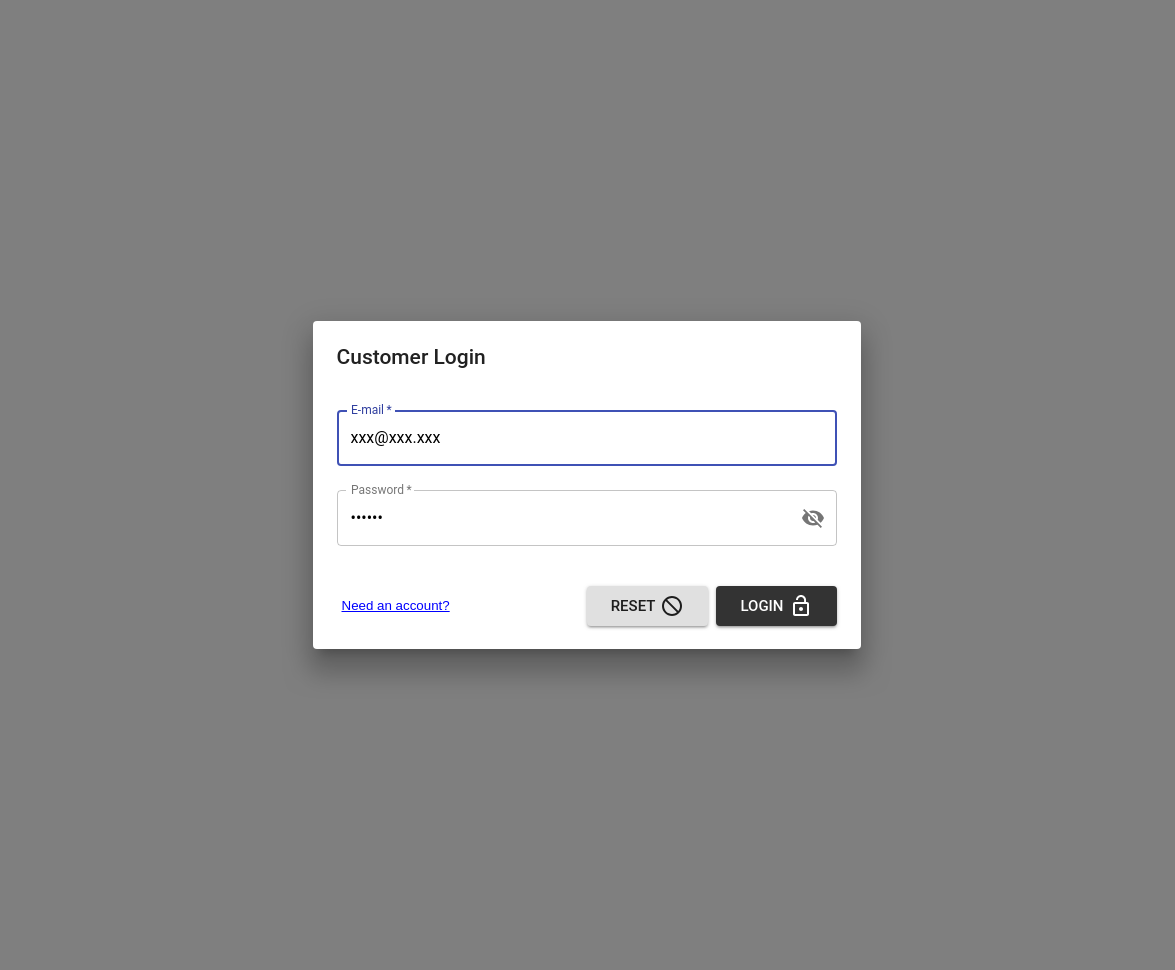
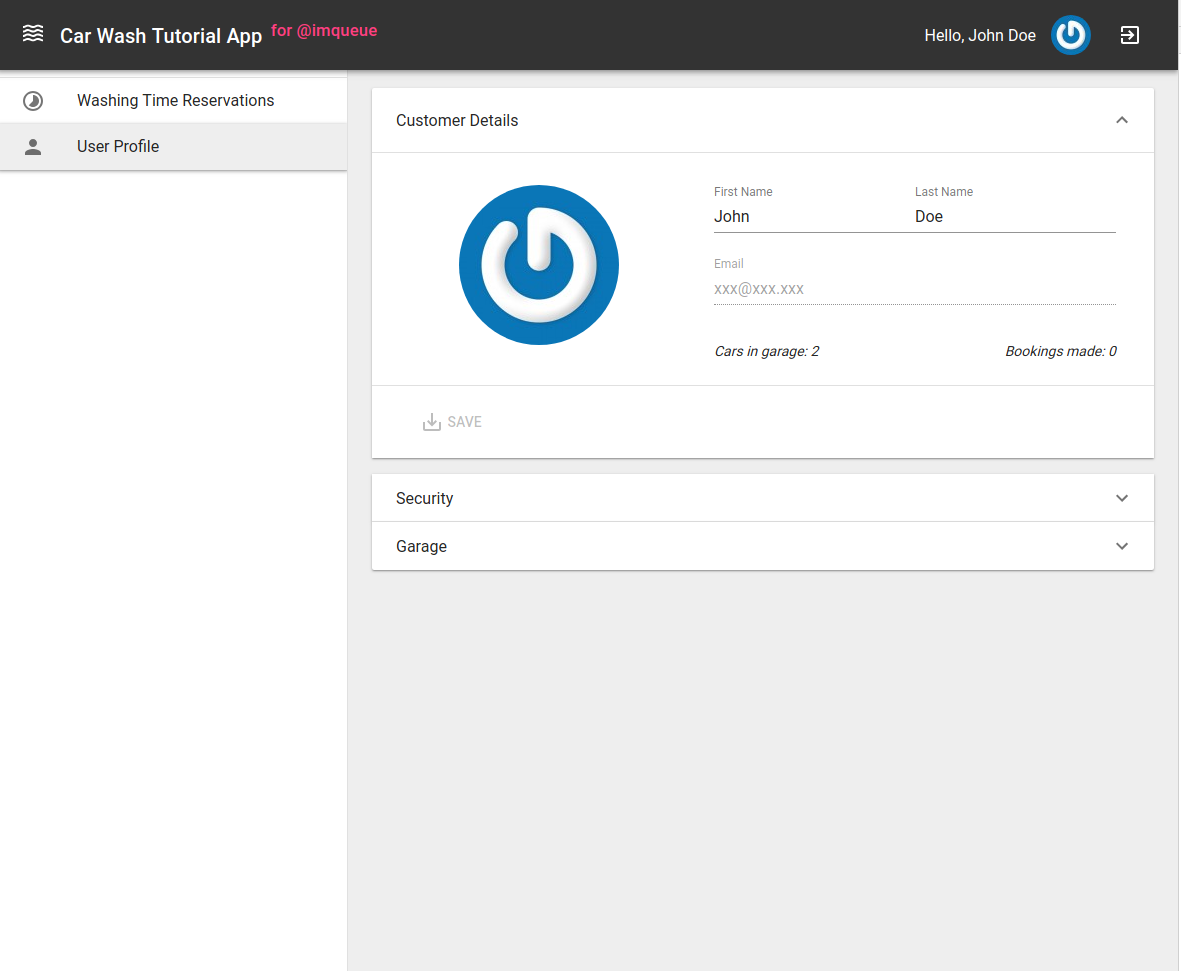
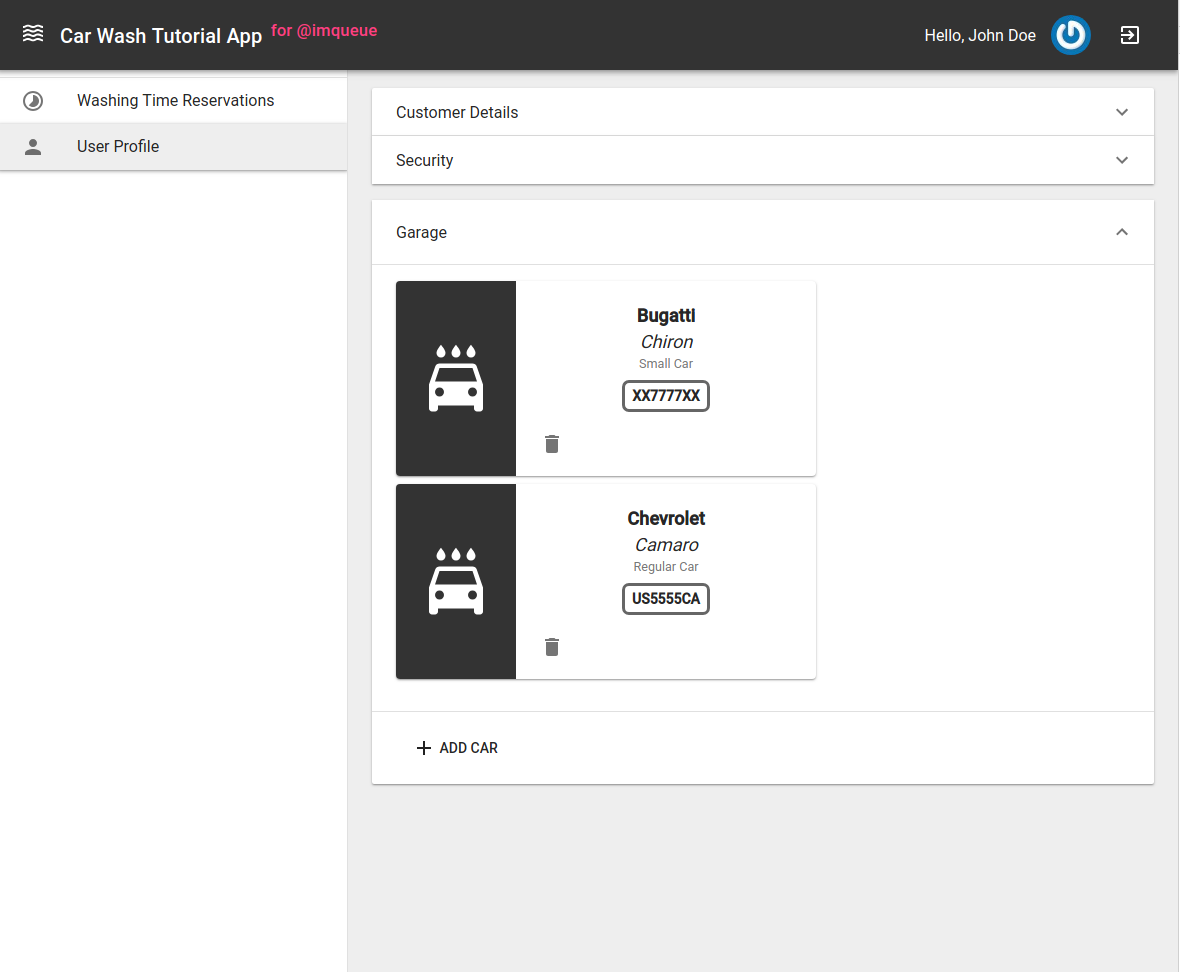
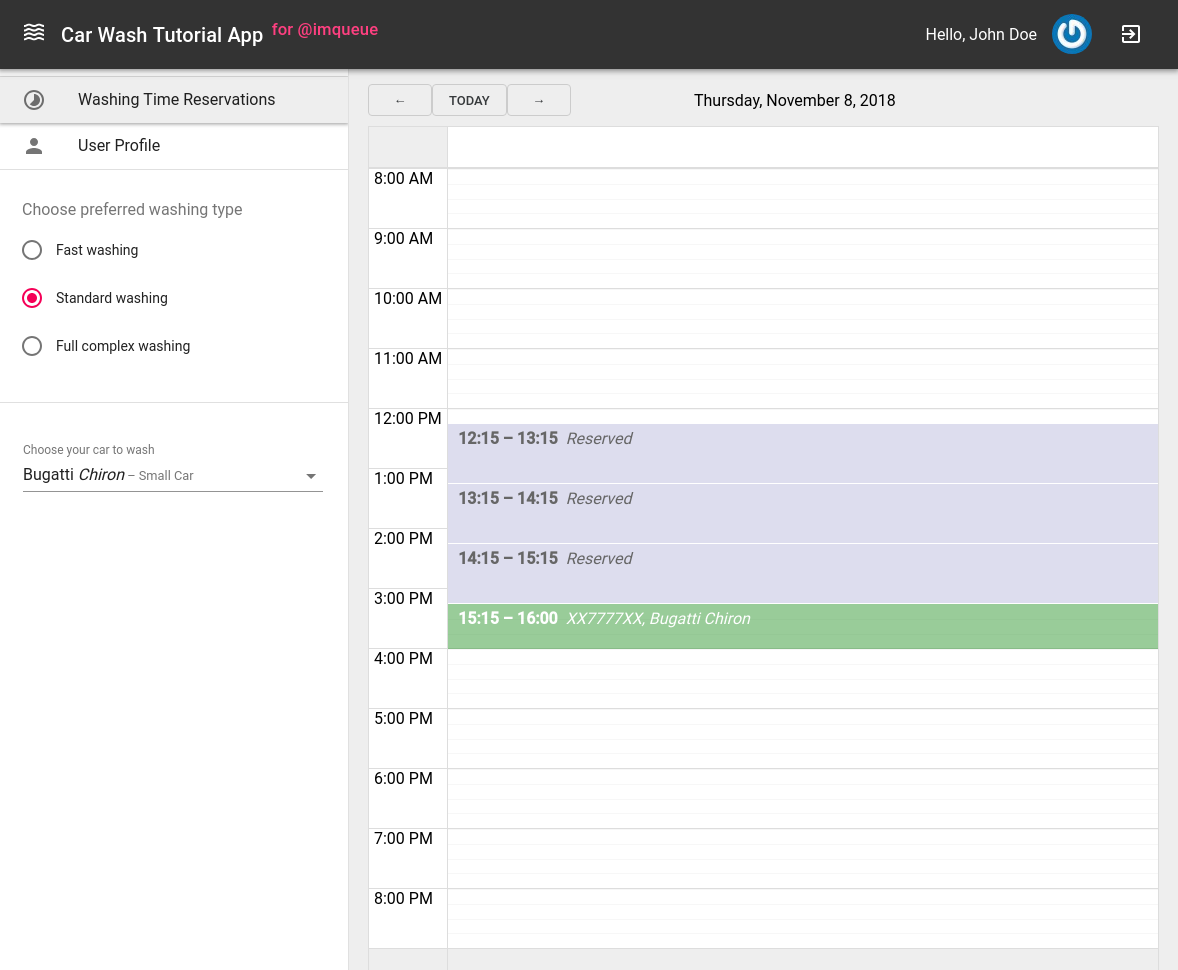
The complete source code for the tutorial application is available on GitHub.
Architecture
Let's say we're building the web application on a React/Relay/GraphQL front-end, served by a GraphQL API endpoint that sits in front of a set of @imqueue-based back-end services.
While a front-end team builds the user interface, we focus on the back-end. We split it into small, decoupled services that can be developed in parallel by small teams:
- User service — manages user data. Stack: Node.js/TypeScript, @imqueue over Redis, MongoDB.
- Auth service — handles authentication. Stack: Node.js/TypeScript, @imqueue over Redis, JSON Web Tokens.
- Car service — serves car data. Stack: Node.js/TypeScript, @imqueue over Redis, a static data source cached in a custom in-memory store.
- Time-Table service — manages the washing schedule: reservations and the station's working-hours options. Stack: Node.js/TypeScript, @imqueue over Redis, PostgreSQL through @imqueue/pg-sequelize.
- API service — a GraphQL endpoint that orchestrates access to the services above. Stack: Node.js/TypeScript, @imqueue over Redis, graphql, graphql-relay, express, graphql-yoga.
NOTE. The GraphQL choice is just that — a choice. In two bonus chapters at the end of the tutorial we put a REST/OpenAPI gateway in front of the very same fleet and give it a front-end of its own — one that speaks REST natively rather than imitating Relay — leaving every back-end service untouched.
The high-level architecture looks like this:
Setting up the toolchain
The @imqueue command-line tool can wire its scaffolding into third-party
services — a git host (GitHub, GitLab or Bitbucket), a container registry (Docker
Hub, Google Artifact Registry, AWS ECR or Azure ACR) and a CI provider (GitHub
Actions, CircleCI or Travis). When you create a service with the tool, you can
get a ready-made repository, continuous integration and one-command Docker image
builds out of the box. So the first step is to install and configure
@imqueue/cli.
Prepare the development environment
You'll need Node.js 22.12 or newer, ideally installed via NVM. You'll also need Redis, MongoDB and PostgreSQL — install them however you prefer, whether via Docker images (Mongo, Redis, PostgreSQL) or directly on your system.
Install @imqueue/cli
These git-host, container-registry and CI integrations are entirely optional. Without them, the tool simply creates local folders and files; you choose which to enable when you configure the tool.
If you do want the integrations, prepare your git-host and registry namespaces (a personal account or an organisation) and create a personal access token for your git host — GitHub, for example — granting @imqueue/cli permission to create and write to repositories in that namespace.
Then install the tool:
npm i -g @imqueue/cliThen run the interactive configuration wizard once to finish setting up
@imqueue/cli:
imq config initIt walks you through your git host, CI provider, container registry and default packages, and stores the answers globally.
For the full setup details — requirements, upgrading and shell completions — see the Installation & Configuration chapters of the CLI User Guide.
With that in place, we're ready to create our first service.